
Another quick step by step today. Our move is getting closer and closer and working on smalls is about as much as I can do at the moment.
I picked up these lovely coat hooks a little while ago and thought it was about time I did something with them.
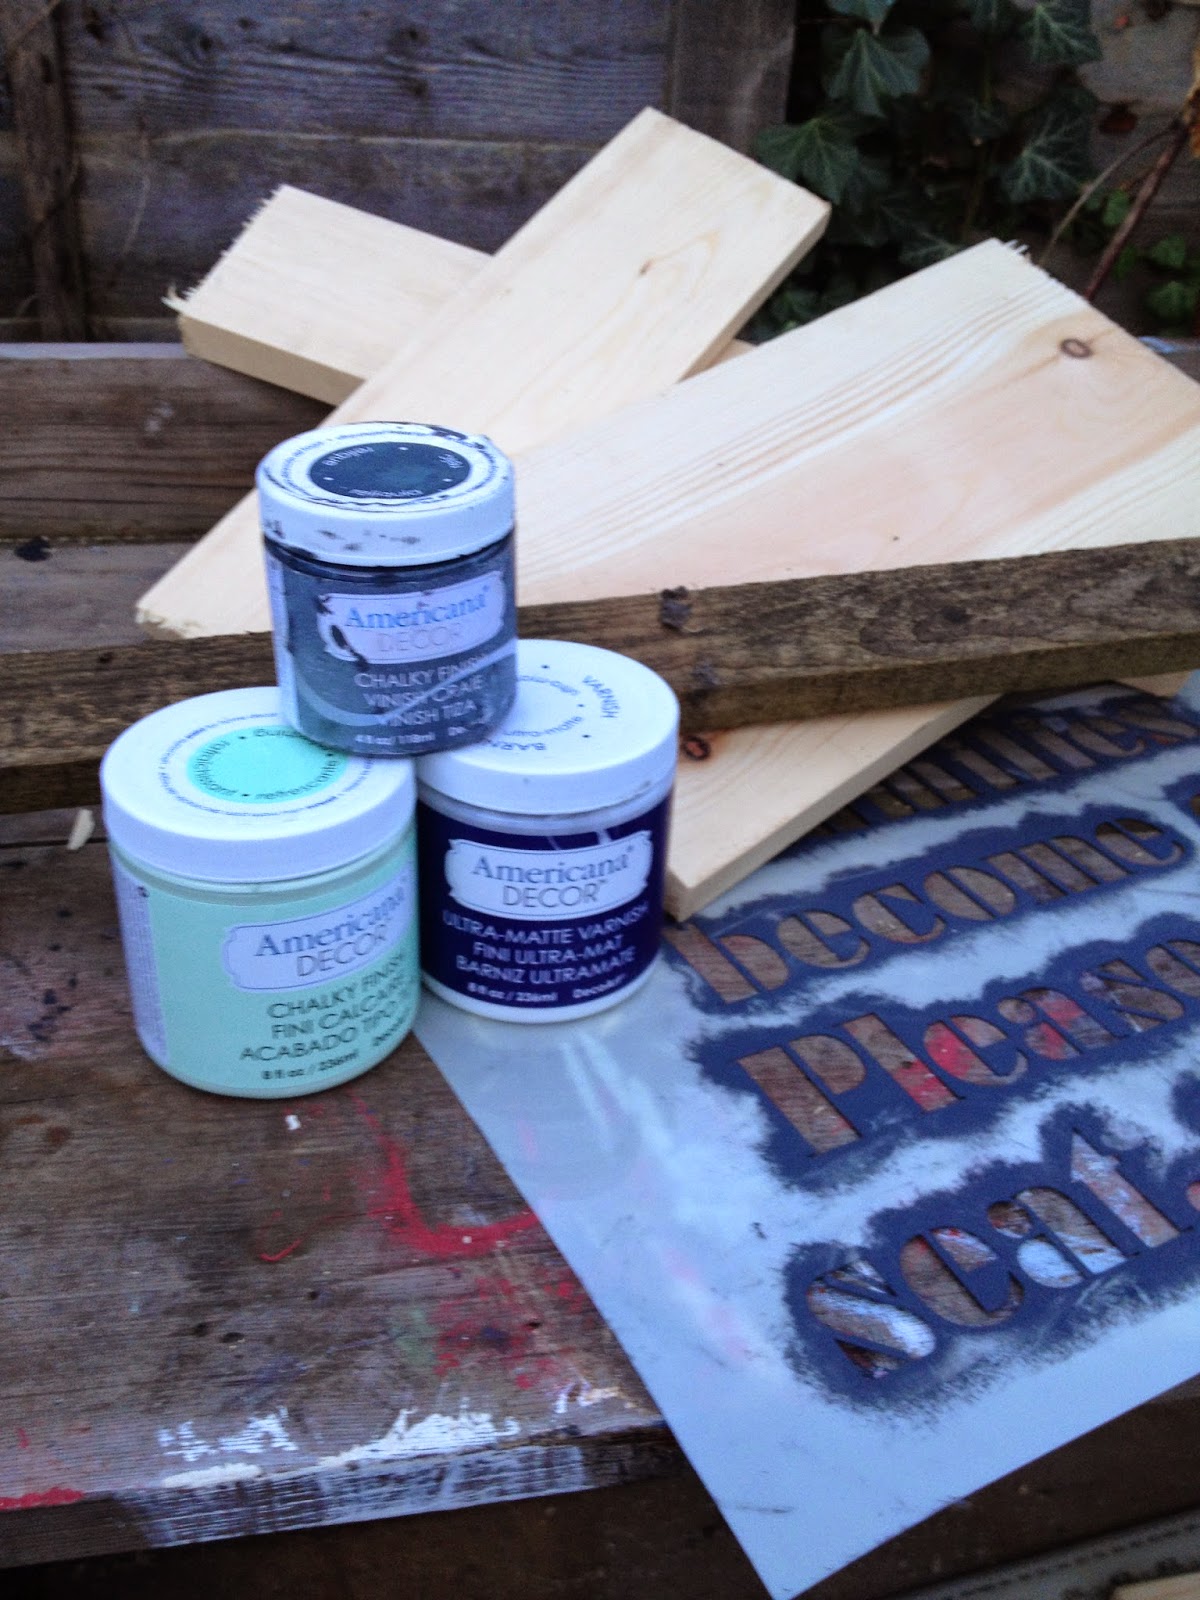
Here is what you will need.

Decoart chalk finish paint and varnish
Coat hooks.
Off cut of wood.
Electric sander (not essential but makes life easier).
Decoart chalk finish stencil.
Brushes.
To start with I painted the board with Decoarts chalk finish paint in Escape.
Once dry I painted over the top with Decoarts Lehacy.


Once dry a quick sand starting with a medium grade sand paper and working down to a fine grade paper to leave a beautifully smooth surface.

Once you are satisfied with your level of distress. You want to find a happy medium of bar wood and both colours coming through. It's time to add the stencilling. Take some time to make sure the stencil is straght and I find it best to tape it down. This helps keep it in lace and helps stops the paint from getting under the stencil. I use a stencil brush and stipple the paint. This gives the paint some texture. When dry take a fine grade piece of sand paper and gently sand back to smooth out and distress the design. I used Decoarts Enchanted for my stencilling.
Finish off with a couple of coats of varnish. I used the satin varnish to give a nice soft sheen.

Measur and mark where you want the hooks and attach them to the board.


.jpg)


.jpg)
.jpg)


